Building your own home server, part #2
This blog is part of the 4 posts long series "Build your own home server (2015)":
- Building your own home server, part #1 (January 19, 2015)
- Building your own home server, part #2 (January 21, 2015)
- Building your own home server, part #3 (January 23, 2015)
- Building your own home server, part #4 (January 25, 2015)
Today, I’ll describe how to assemble the server, but it’s not going to be a full step-by-step guide with pictures, but rather a read-along guide to help you quickly assemble the server. If you have changed a hard drive or graphics card once, you should be able to tag along, otherwise, ask someone who has already assembled a PC to help you out. On the equipment side, you’ll only need a screwdriver (seriously.)
Preparation
Before you get started, you should make sure that you have all parts ready and some space. I prefer to put a big piece of cardboard on the floor, just in case. You should also ground yourself to avoid being statically charged. Use a wristband if you are unsure about this.
Ready, go!
There are different way to assemble a computer. The key question is how good you can reach the cables/connectors and how much space you have in your case. If we look at our motherboard, there’s only one tricky part, and that is the power connector at the top edge, which might be a bit hard to reach. The rest looks super-easy. We’ll thus start by placing the memory in the motherboard – there’s two things you should take into account here. First, there’s a notch in the memory which must match the motherboard slot. If the notch is elsewhere, return the memory, cause you got the wrong one. Second, you need to identify the “primary” ports. In the case of our motherboard, these are the blue slots, which should be populated first to get full dual-channel speed. If you stick your RAM into other slots, you’ll get it all on the same channel, and only half the speed.
The next step is to fix the motherboard in the case, but before you do that, grab that back plate connector panel. This thing:

In my case, the network management port was not removed (it’s the upper left square box left to the circular opening.) Just remove it, as you’ll won’t get a second chance. Next, put the back panel into the case and snap it in. This is the only time you should go all Jedi and use the force when assembling a computer. If you need to use force in the subsequent steps, stop, because you’re doing it wrong!
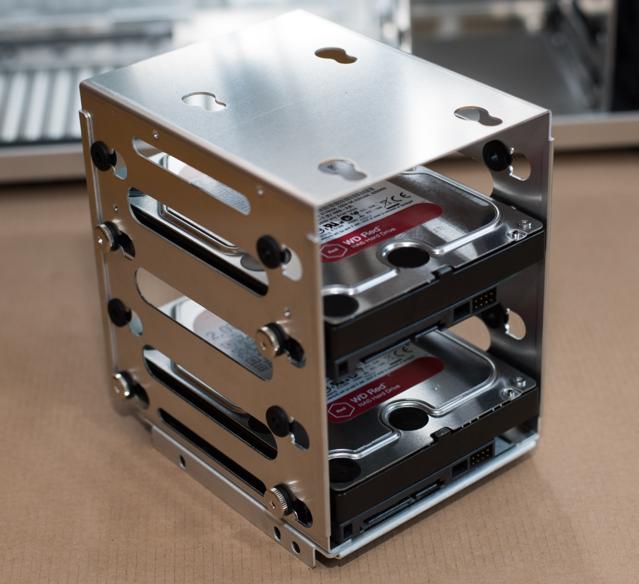
Assuming you have fixed the motherboard (it’s just a bunch of screws, you can’t do much wrong here – make sure to read the manual which screws are for which part), it’s time to insert the disk drives. In our case, we have a nice hard drive bay which can be easily removed using the thumb screws. Next, make sure to check the case manual to see where and how to fasten the 2.5” SSD drive. Most cases come with 3.5” drive bays only, so the 2.5” SSD drives either need an adapter or some “trick” like being put in sideways, on floors of cages or something like this. In our case, it is put in at the bottom of the topmost drive bay. Once you have removed the middle drive bay, it’s time to fix the hard drives.

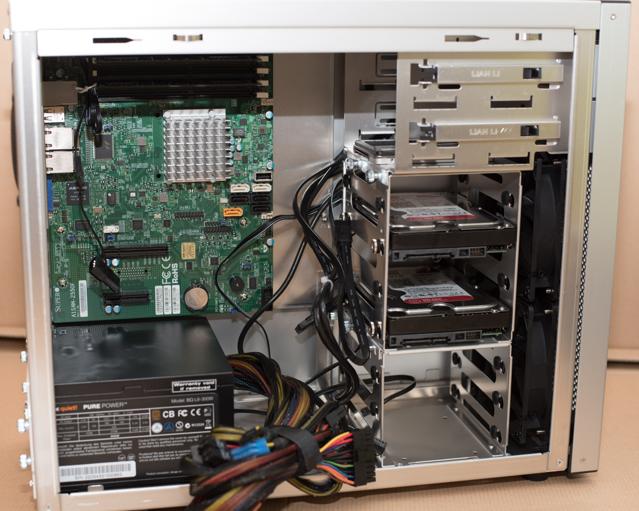
Leave one empty slot between hard drives to improve cooling. Get the disk drives back. There’s only one more component left for us to do, which is the PSU. Unlike in many modern cases where it’s put in “upside-down” here’s its just placed like usual. That’s also the reason why there’s an ventilation opening in the floor of the case. Again, check that you used the PSU screws. That’s it, we’re nearly done!

Cable guy
All that’s left is to connect the cables. You should start with those that are hard to reach, which in our case is the main power connector. Not only is it a split cable (20+4), but you also need to go to the very top of the case. However, as there’s nothing in our way, it’s still easy enough to do it now – otherwise, we would have connected the PSU to the motherboard before inserting it. The next tricky part is the fan connector which I connected to the FAN1 connector in the top-right corner. Before we connect the disk drives, it’s time to take care of the front panel cables. Every case has a few LEDs and switches (at least the power LED and the power switch) which has to be connected to the motherboard. These are usually tiny connectors. Make sure to double check your motherboard documentation which cable goes where, but don’t worry too much if you get plus and minus messed up – nothing bad will happen, stuff simply won’t work but it won’t fry your LEDs (at least, it never did for me.)
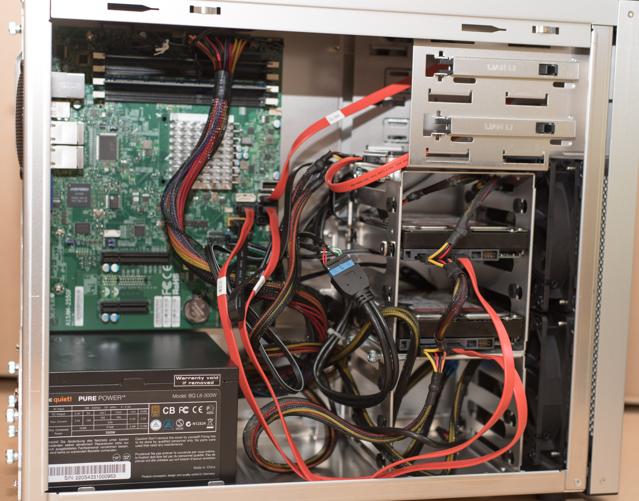
Finally, you plug in the SATA cables and the power cables. Make sure to stove away the remaining cables somewhere where they don’t impact the air flow.

I simply stuffed them below the hard disk drives. Now we’re ready to go. Connect a power cable to the PSU, turn it on. Nothing should be happening. If you press the power button now, the machine should start up (the fans will start spinning, lights on the motherboard will go green) and the machine will simply stop somewhere in the BIOS asking us for a disk to insert, but we can’t see that because we have no screen attached. If it doesn’t start, double check the power connector, check the power switch on the PSU and try flipping the power LED connector.
Ok, we’re ready to go now. Plug in two (!) network cables, grab a seat in front of your main machine and read the next blog post to get the software set up!
