Building your own home server, part #1
This blog is part of the 4 posts long series "Build your own home server (2015)":
- Building your own home server, part #1 (January 19, 2015)
- Building your own home server, part #2 (January 21, 2015)
- Building your own home server, part #3 (January 23, 2015)
- Building your own home server, part #4 (January 25, 2015)
Recently, I’ve been talking with a friend about home servers. After some discussion, he was convinced that he will get one, and asked me whether I could help assemble it. I took the opportunity to document the process. In today’s blog post, we’ll be looking at the hardware side and how to actually assemble a home server, but before we get started, let’s make clear first why you want one and what it is.
Why? What?
So, let’s assume you have multiple computers and possibly tables/mobile phones at home and you want to share data between them. The easiest way is of course to upload everything to the “cloud”, which is nice, but uploading and synchronizing all your RAW images on the cloud is not the best bandwidth usage. Additionally, your trusty Playstation 3 can use DNLA, but no cloud services. The next best alternative is a NAS device. There are lots of those on the market, which are typically a super-low power PC with a few hard disk drives in a black-box which you can’t fiddle around with. In general, consumer NAS won’t provide server-grade hardware or reliability – for instance, by using ECC memory and reliable file storage.
The most flexible alternative is to go ahead and build a home server on your own. All the hardware you need is readily available, and by building it manually, you can get real server-grade equipment for an acceptable price tag. You also control the software side, so you can install reliable, modern file systems like for instance ZFS or BTRFS without having to wait for your NAS provider to support them. Finally, if you need special services like virtual machines, complex right management, print services, nothing beats a full-blown server at home.
The hardware
Before we can find some hardware, we must have a list of requirements. Here are mine:
- The server must support ECC memory, which is for instance necessary for ZFS.
- It should use as little power as possible during idle.
- Disk storage must be mirrored across at least two hard drives.
- It must support gigabit ethernet.
With these requirements in mind, let’s get started. First, we need a mainboard with ECC memory support. This rules out nearly all consumer hardware and we’re left with a few AMD Opterons, Intel Xeons and server Atoms. As we want to go low-power, a passively cooled Atom mainboard with ECC seems to fit the bill pretty well. For this homeserver, I’ve used a Supermicro board. One interesting feature of this board is the server management hardware which will cover later when it comes to installing.
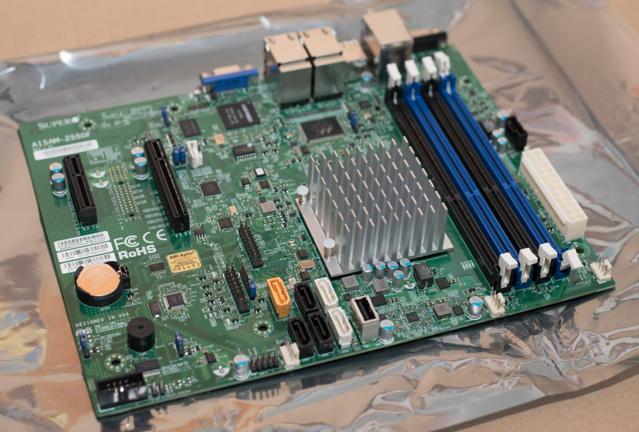
Note
Turns out, even server-grade hardware has sometimes problems. Early 2017, it was discovered that various C2000 series Atoms have a serious flaw. Personally, the server I built with it is still running fine after 3 years, but I would not recommend getting one of the affected Atom SKUs. If you want a similar mainboard, you could choose the Supermicro A2SDi-4C-HLN4F which has a 3000-series Atom on it. That particular one will most likely need a fan though.
We also need memory, and due to price/availability I’ve chosen the cheapest 4 GiB ECC memory sticks I could get. ECC memory uses the same memory chips as normal consumer memory, but adds one more bit per byte to store parity information. Basically, you can think of ECC memory as follows: For every byte stored – which consists of 8 bits, either 1 or 0 – the parity bit stores one more bit (for instance, the bit will be set such that the number of bits that are 1 is always even.) This allows ECC memory to detect when a bit has been flipped due to cosmic rays or other influences. In reality, things are a bit more complicated, and ECC memory can even correct various errors.
We’ll be using two sticks, not because we have to, but because the Intel Atom has a dual-channel memory controller. What this means is that it only gets its full performance when you use 2, 4, 6 or another multiple of two RAM sticks. We could use 4, but that’s way overkill, so we’re taking 2 à 4 GiB. We’re also using DD3L memory modules – the L is for low-power.
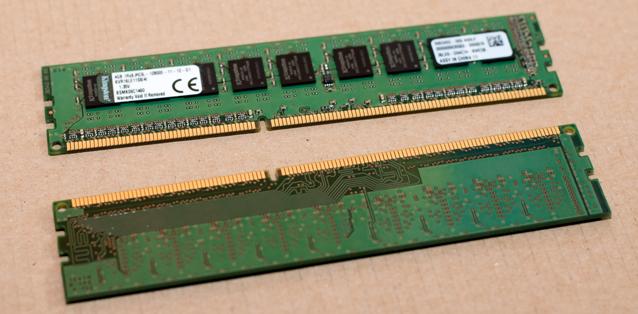
For storage, we need at least two identical hard-disk drives. The capacity is totally depended on your own usage patterns. For my friend, a few quick back-of-the-envelope calculations gave us a few hundred GiB of required disk storage over the next five years. I’ve decided to buy two 2 TiB hard-drives designed for NAS.
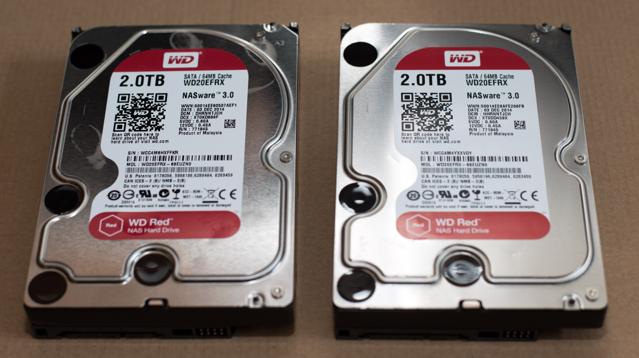
The main difference of such drives compared to normal customer drives is that their firmware will report errors “right away” so the RAID controller can solve them, instead of trying extra-hard to read the data. Additionally, they are more resistant to vibrations, which is important when you put lots of them into the same enclosure.
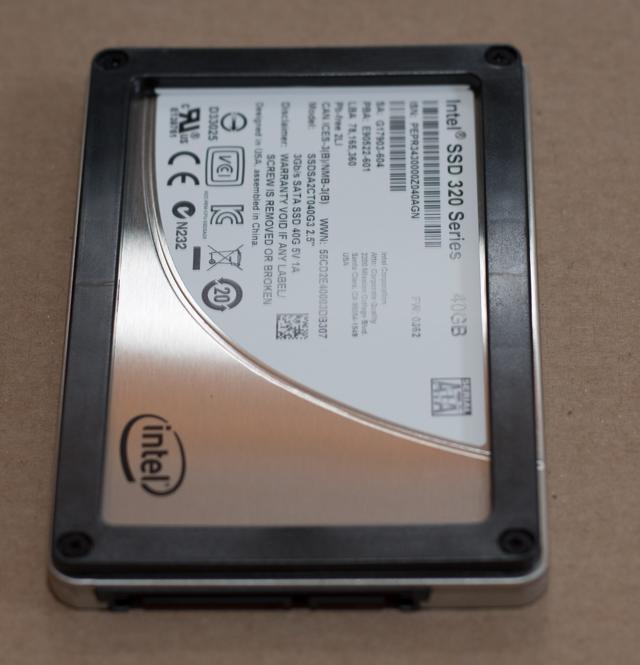
While it is certainly possible to place the operating system onto the drives as well, it doesn’t make too much sense. First of all, mirroring the operating system is a waste of disk storage, and second, you want the drives to go into stand-by mode over night, which won’t happen if the OS needs to install updates. The easiest solution is to use a really low-power, super-reliable disk drive for the operating system. I’ve selected a tiny Intel SSD. SSDs are great for this, as they use low-power and their reliability is mostly affected by writes, but as no data will be stored on it except for the OS, the SSD will be effectively in read-only mode most of its life. We also won’t need a lot of storage, so a small SSD with 40 GiB will do just fine – and those are super-cheap.
Finally, we need a case and a power supply unit. For the case, you want something with good ventilation and air filters. Air filters are critical, otherwise, you’re server will accumulate huge amounts of dust in no time. The case should be also big enough to allow for some air circulation.
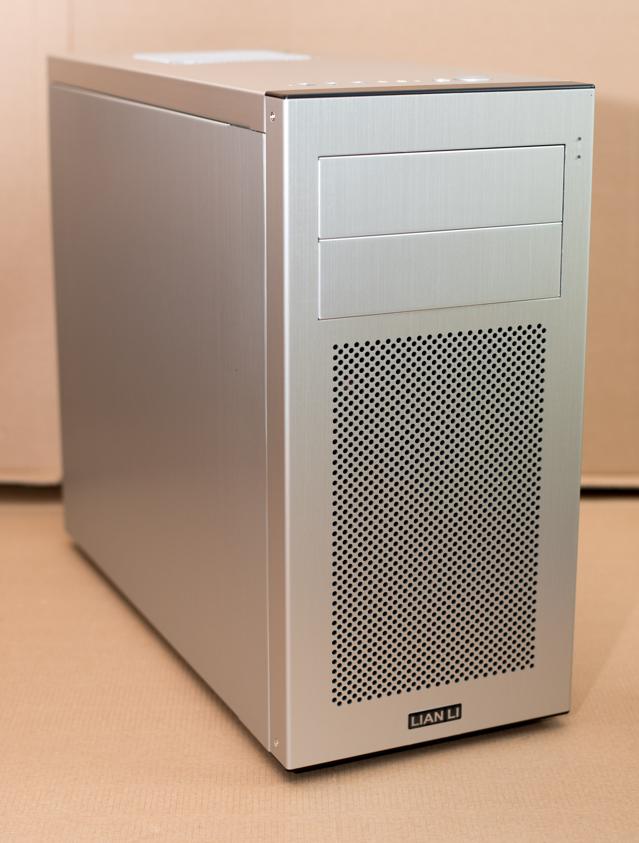
The Lian-Li case fits the bill perfectly. It comes with two fans at the front, which will keep the disk drives cool, and a fan at the top to remove excess heat from the case. It’s also very light and has little isolation, which is good, as we want it to dissipate as much heat as possible – and a silent case with thick metal and insulation does exactly the opposite.
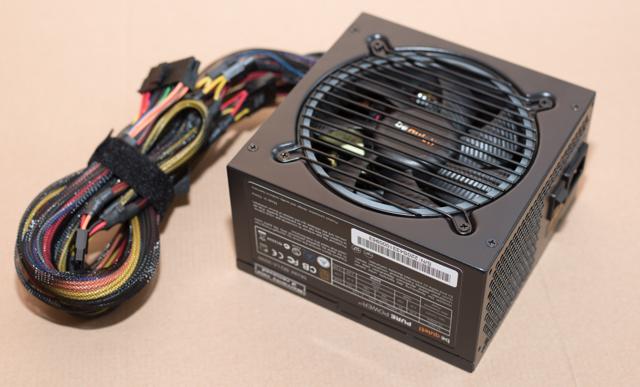
The PSU is difficult to choose, as our home-server will need only very little power and most PSUs are way over-sized for the task. I’ve picked a 300W PSU, which is still complete overkill, but at least reasonably efficient – the main reason why I selected this one is because the company has a quite good support department, which should help in the case of trouble.
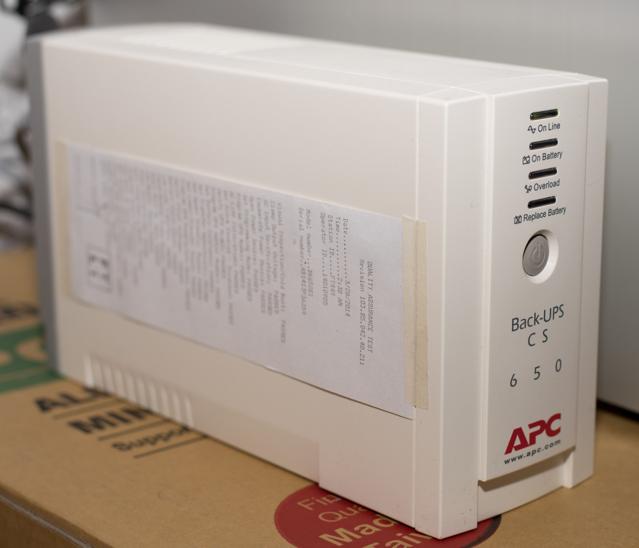
There’s one final component on the power side which we can add to make the server a bit more reliable. The power grid is not perfect, and while power failures are rather uncommon, 1 sec outages at night do happen, as do thunderstorms. You don’t want to run to your server in the basement to turn it off when a thunderstorm comes. The easiest and most reliable solution is to add an UPS to the server – an uninterruptible power supply. This is just a fancy name for a big battery which will keep your machine running even when nothing else in your home is working because of a power failure. I’ve picked one from APC, mostly because I have the same running at home and because it can talk to your server via USB and initiate a normal shutdown before it runs out of power.
The total bill of materials is:
- 1x Intel SSD 320 Series 40 GiB, 30€
- 2x Western Digital RED 2 TiB, 90€ each
- 2x Kingston ValueRAM 4 GiB DDR3L-1600, ECC, Intel certified, 40€ each
- 1x Supermicro A1SAM-2550F, 250€
- 1x Lian Li PC-A04A case, 90€
- 1x be quiet! Pure Power L8 300W, 40€
- 1x APC Back-UPS C650, 100€
That’s 770€, plus a few bucks for delivery. Fortunately, we won’t need anything more, as the software will be all open-source and free. That’s comparable to high-end NAS devices, but you get much more flexibility in your configuration with this setup, and it’s all server-grade hardware except for the case and the power-supply, with long warranty times.
In the next post, we’ll assemble this thing!
